Part 3 – Organizing your jmeter test
How to automatically group your test elements into Transaction Controllers
You can allow jmeter to group your nodes into Transaction Controllers by selecting this dropdown value in the HTTP(S) Recorder:
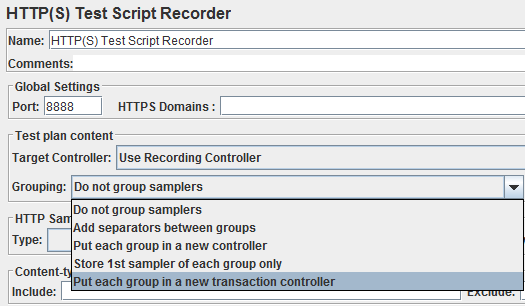
It is a good practice to keep all associated page events under a page level Transaction Controller. For example, a controller called “Login” should contain the login post request and any associated authentication requests.
If you would rather record all HTTP requests and group into controllers afterwards, there is nothing wrong with that approach. Make sure you pay attention while recording so you can understand what each request does.
What to delete and what to keep
Generally, you want to keep any HTTP Requests that are generated when recording. Sometimes the recorder will automatically disable certain requests. Save those in case you need them later.
You can always right-click or use the toggle button  to switch between Disable/Enable
Warning — when you right-click to Remove/Delete something, it is gone forever !
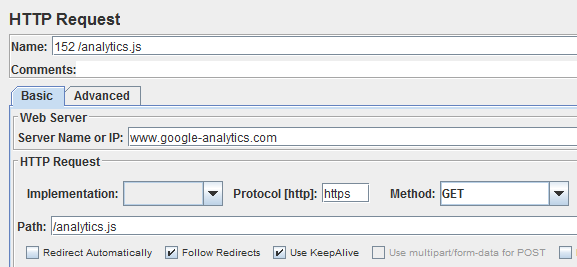
Google Analytics Requests (unless you are asked to include these in your script) can be deleted or disabled:
Assets like Images, Logos, Javascript, and CSS do not need to be a part of your script.
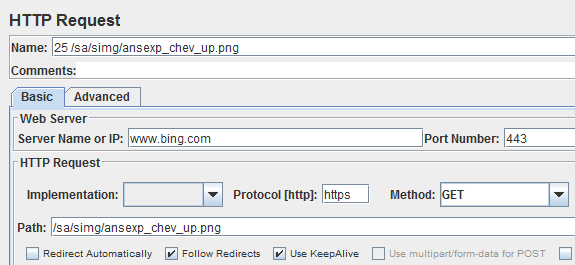
I would suggest putting all of the assets for a page inside a controller, and then disabling it. You can always re-enable this controller if you need the assets later. Make sure to give your controller a meaningful name like “Assets”:
How to add variables to your UDV
Jmeter allows you to add parameters to your test. In an ideal situation, you only need to write a test once. Then it can be used in multiple environments by simply changing parameter values in the UDV. However, this will not always be the case, so you might need to maintain separate tests for different environments.
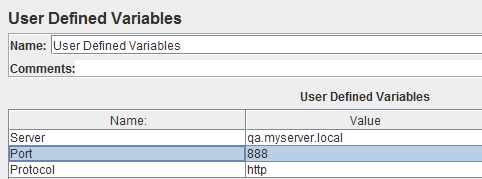
For example, this UDV contains three parameters:
- Server
- Port
- Protocol
How to apply parameters to test elements
BEFORE:
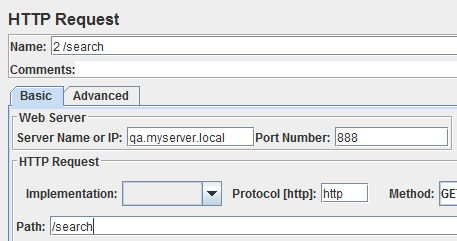
AFTER:
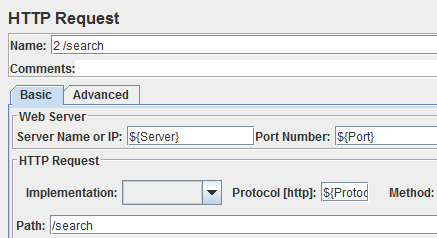
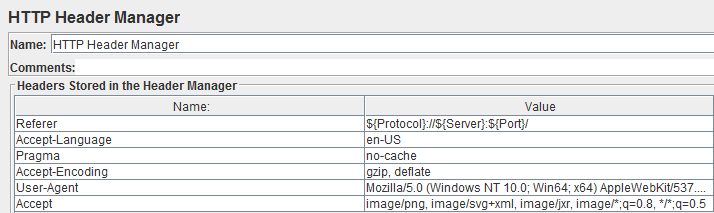
As you can see, these variables can be accessed by adding the dollar sign with curly brackets.
Make sure to apply these parameters to your HTTP Header Manager elements as well:
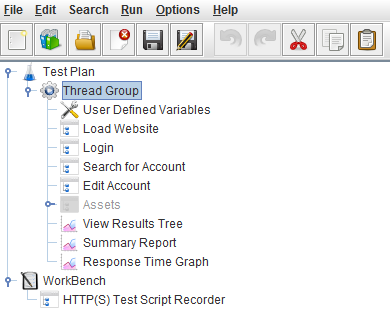
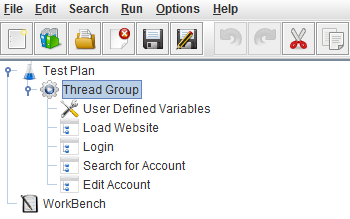
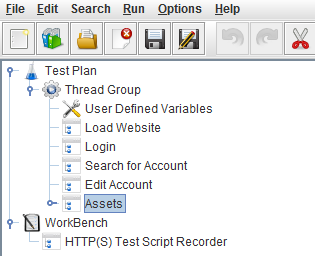
What the test tree should look like
Your test tree should be a collection of test elements, divided into three main areas:
-
 Config Elements
 -
 Transaction Controllers
 -
 Listeners
All of these elements should be rolled up under a Thread Group: