Part 2 – Setting up the HTTP(S) Recorder
Before I show you how to use the built-in recorder, I am going to show you a way to flip your browser’s proxy settings. There is a third party browser plugin called FoxyProxy which allows you to do this easily. It only works for Chrome and Firefox, so if you want to record IE you will have to update the proxy manually.
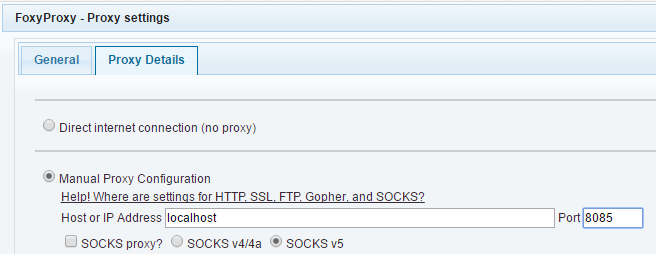
First download the FoxyProxy “Basic” version, which is free. Once installed, go into the options menu and click “Add New Proxy”. I prefer using port 8085 but you can use whatever port you want.
Assign Host = localhost
Assign Port = 8085
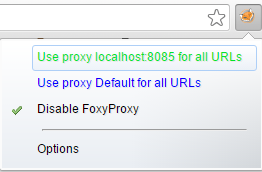
After adding a new proxy, turn FoxyProxy ON by clicking the fox icon and selecting the proxy that you just created:
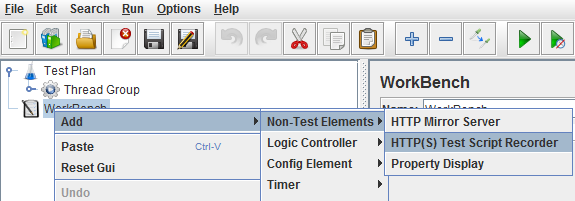
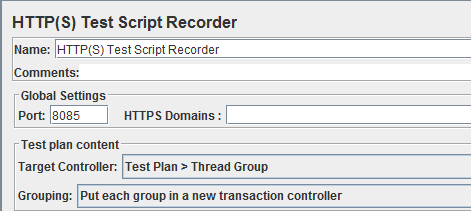
To add an HTTP(S) Recorder to your jmeter script, right-click on the workbench node and select the Recorder:
Assign the same port that you used for FoxyProxy here. For the Target Controller, I would recommend assigning the recorder to the Thread Group in your test. If you choose this option, it will automatically assign any parameters that you might have already assigned within your test script. For Grouping, I would suggest using “Put each group in a new transaction controller”.
How to record using HTTP(S) recorder:
- Make sure that FoxyProxy is turned ON.
- Make sure that your HTTP Recorder and FoxyProxy are both set to the same port.
- Click the Start button at the bottom of the recorder. Click Stop when done.
HTTP(S) Recorder Troubleshooting:
- Make sure that FoxyProxy is turned ON.
- If your website is not loading properly, click start on the recorder and click refresh on the browser.
- If certificate error popups are preventing test recording, follow instructions below to handle certificate error.
- If nothing is being recorded, check the jmeter.log file for errors.
What do I do when I get a cert error ?
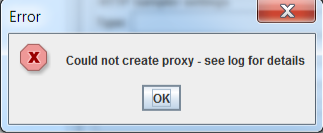
You may see a popup error from time to time after you click start on the HTTP(S) Recorder:
If this is your first recording or you haven’t recorded a test in awhile, you will need to add a valid certificate in order to be able to record. Go into the jmeter bin folder and locate this RootCA file:
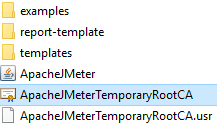
Double click on this file and step through the wizard to install a valid certificate. When finished, you should see a popup that says “The Import was successful”.
What to do if you see a Root CA popup ?
Once you have installed a valid certificate, a different popup should appear when you click start on the recorder and it will look something like this:

This is just a warning. Ignore this message and click OK to begin recording your test. As you click from page to page inside the browser, you should see a node tree being generated inside the Test Plan. You can edit these nodes as needed for your test script. Make sure to give the controllers and samplers meaningful names. If you need to extract data from HTTP responses, add post-processors to your samplers.
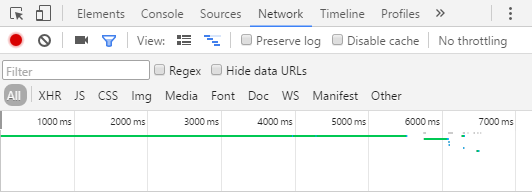
HTTPS site is not responding properly when FoxyProxy and recorder are running ?
An authentication call or financial transaction might not work properly when recording an HTTPS site. This happens with some secure sites, so you might need to build some of your HTTPS requests by hand. If this is the case, you should utilize the Network tab inside your browser’s developer tools (F12) to build your HTTP requests manually.